Y seguimos con la escena. Una vez realizado el suelo vamos a por la pared de piedra.
And I continue with the scene. Once the floor is done, it's time for the stone wall
Recortamos las piedras de un cartón, cuanto más arrugado mejor, de diferentes tamaños. Yo uso los protectores de cartón de tóners de impresoras de oficina. Una vez cortadas damos una capa de imprimación con Gesso.
We cut the stones from cardboard, the more wrinkled better, different sizes. I use protective cardboard office printers toners. Once they are cut, paint with a primer (Gesso).
Cuando la imprimación está seca, yo le he dado una capa de gris (sacando el sobrante con un trapo) y poco después con un marrón color miel (el mío se llama honey brown) y también quitando el sobrante con un trapo.
When the primer is dry, I have given a coat of gray (removing the excess with a rag) and soon after a honey color (mine is called honey brown) and removing the excess with a rag.
Ya tenemos las piedras. Ahora toca la borada y el resto de pared
We already have the stones. Now time for grouting and the rest of the wall.
Hay muchas maneras, lo que yo he hecho es parecido a un papel maché sencillo. Papel de cocina cortado a trozos y en remojo.
There are many ways, what I've done is like a simple paper mache. Paper towels cut into pieces and soak.
Se trituran con el turmix, siempre con agua
Blen the paper with water with the blender
Ya bien triturada, la pasta se pone a escurrir.
Once is well blended, drain the pulp
Al quitarle mucha agua queda más pequeña
By removing water is much smaller
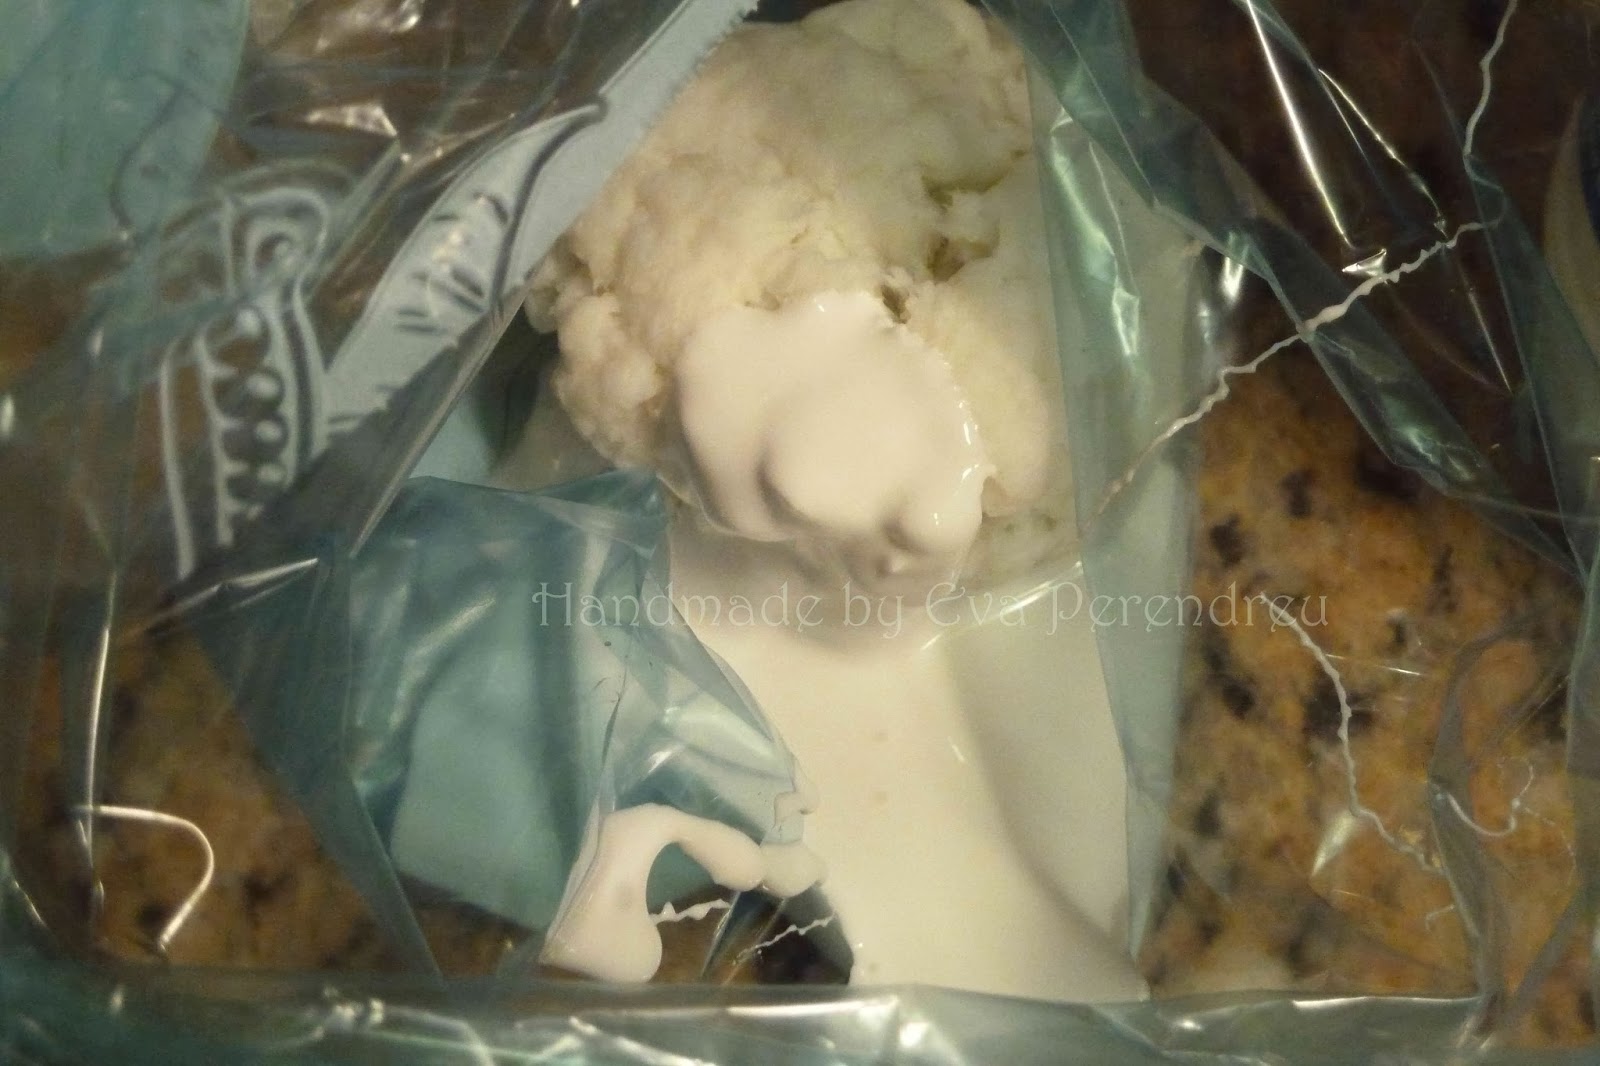
Ponemos la pulpa en una bolsa y añadimos cola blanca y se remueve hasta que quede bien integrada.
Put the pulp in a bag and add white glue and stir until well integrated
Con esta pasta se rellenan la pared y vamos poniendo encima las piedras con un poco de cola
This paste is used to fill the wall and putting up the stones with some glue
Queda muy realista y rústico. Ahora a por las vigas....
It is very realistic and rustic. Now for the rafters ....


23 comentarios:
Pues está super bien este tutorial, y además no "pringa" tanto como el aguaplast, qué chulo el resultado, muchísimas gracias Eva por mostrarlo... muchos besos, y ¡¡adelante con las vigas!!
Gràcies pel tuto Eva!!!
ptons
Un estupendo tutorial. Tomo nota. Me gusta como queda
Super bien explicado, queda perfecta esta pared!!
Besos de las Malu´s.
Faantástico! más claro, imposible
Feliz año guapa, petonets
Que bien explicado hasta parece fácil jejjeejjej,besitos
Thank you for this well explained tutorial - your wall looks fantastic. I especially like the colour shades on your "stones".
Besos
Birgit
Woooow!! Que interesante manera de juntear (rellenar) no lo hubiera pensado ¡Muchas gracias por el tutorial!
( Yo termine hace unos días un muro de piedra, donde ya gritaba ¡Auxilio!!! jejeje
Un abrazo
Flor
muchas gracias por el tutorial,es estupendo y queda genial
el resultado muy bonito
Besos
Hola Eva,
Es una técnica maravillosa. La piedra se ve maravilloso. Gracias por el gran tutorial.
Un fuerte abrazo,
Giac
Ótimo tutorial!
¡Que buen tutorial, y además me encanta el resultado! Gracias por enseñarlo.Un beso
This is a wonderful tutorial, very well explained. Thank you for sharing.
Hugs, Drora
Thanks for showing how it looks so great. I think it's interesting that you use paper mache, I will remember that.
Hugs
Wyrna
It's great idea to make a stone wall. Thanks for tutorial :)
Pozdrawiam!
Hola Eva! You did a great job on the walls, I love the beautiful shades of your stones. Thank you for writing this clear tutorial, it took you a lot of work! Thank you for writing in English too, because the translation from Spanish into English never works well on Google!
Besos, Ilona
Thank you for your excellent tutorial, great ideas and the end result looks amazing!
Kind regards, Brian.
Nice technique and thanks so much for the tutorial. Beautiful wall!!
Thanks for this beautiful and useful tutorial.
Greetings, Faby
Y tan real, parece una pared de verdad.
Muy bien explicado. Gracias por el tuto Eva.
Besos, Narán
Queda genial, me encanta el resultado. Gracias por las explicaciones....petons
Que xulo i que be que t'ha quedat !
Petonets
Publicar un comentario